The prior post in this series described how to remove a friction-fit balance staff. Friction-fit staffs are quick and easy to work with, so naturally, the world being what it is, there aren’t many watches with friction-fit staffs.
Instead, most balance staffs in vintage pocket watches are riveted to the balance wheel. The balance shoulder—the part of the balance staff that fits against the hole in the balance wheel—is spread outward until it secures the staff to the wheel. The shoulder is then smoothed and flattened against the balance arms, ensuring a flat seat for the collet. This is called riveting because the spreading and flattening process creates a thin lip of metal over the hole in the balance wheel.
Removing the Broken Staff
As with friction-fit staffs, we first remove the hairspring and roller. Then it’s time to remove the staff from the balance wheel. You have a few options. They all work great when done well, and they all wreak havoc when done poorly.
Here are a few I won’t demonstrate:
- Removing the rivet from the wheel on a lathe. Many people prefer this method. The balance is spun in the lathe, and a graver is used to cut out the rivet connecting the wheel to the hub. (Alternately, the bottom hub is carved off.) A virtue is that the balance staff’s arms and hole are unlikely to be deformed. (Another virtue is that, just as some people want to buy everything they own from Costco, some people want to use their lathe for everything. Wanting to use my staking set for everything, I can understand.) One small slip of the graver, however, and much woe will ensue.
- Grinding the hub from the staff, then tapping it out. I don’t have the equipment for this, which is expensive. It looks fun, though.
- The Platax tool. Just as it can tap out rollers, this tool can tap out balance staffs.
A popular option is to stake out the staff with your staking set. Here’s a vintage K&D balance staff remover. These come in a couple sizes for larger pocket watches and smaller wristwatches.

The pipe-shaped piece is threaded. It sits over the balance wheel, and it is screwed upward to secure the balance wheel to the staking plate.

For driving out the old staff, the K&D tool provides a handy punch. It is spring loaded with a contoured hole that accommodates different pivot sizes and shapes. It works well for the broken and deformed pivots you’ll use it on.

The old staff will remove more evenly if the punch can provide consistent pressure against the pivot end. If your old staff has a bent pivot, you can snap the pivot to allow the removal punch to seat and press more evenly.
Staking out the staff risks deforming the balance wheel if not done properly. Close measurement and proper technique are key. First, we place the balance wheel in a hole in the staking plate. The hole should be wide enough to accommodate the lower part of the balance staff. The arms of the wheel should lie flat against the staking plate.

It is crucial to select the proper hole size. If the hole is too small, the staff won’t actually slide out. And if the hole is too big, the force of tapping out the staff will bend the balance wheel’s arms. Select the hole that is just large enough to accept the balance staff hub and to allow the wheel to rest against the plate.
Second, secure the balance wheel to the plate using the K&D tool. A key to a successful removal is a tight fit to the plate. If the wheel is even slightly loose, it will wobble when you tap out the staff. This is one reason why people end up with an uneven hole or jagged edges on the hole.
For a tight fit, thread the pipe end tight against the staking tool. Then turn the stem end for extra tightening. You can turn the stem to rest against the frame of the staking set or simply hold your finger against it. This ensures that the force of tapping doesn’t cause the K&D tool to loosen. The wheel should be absolutely secure against the plate.
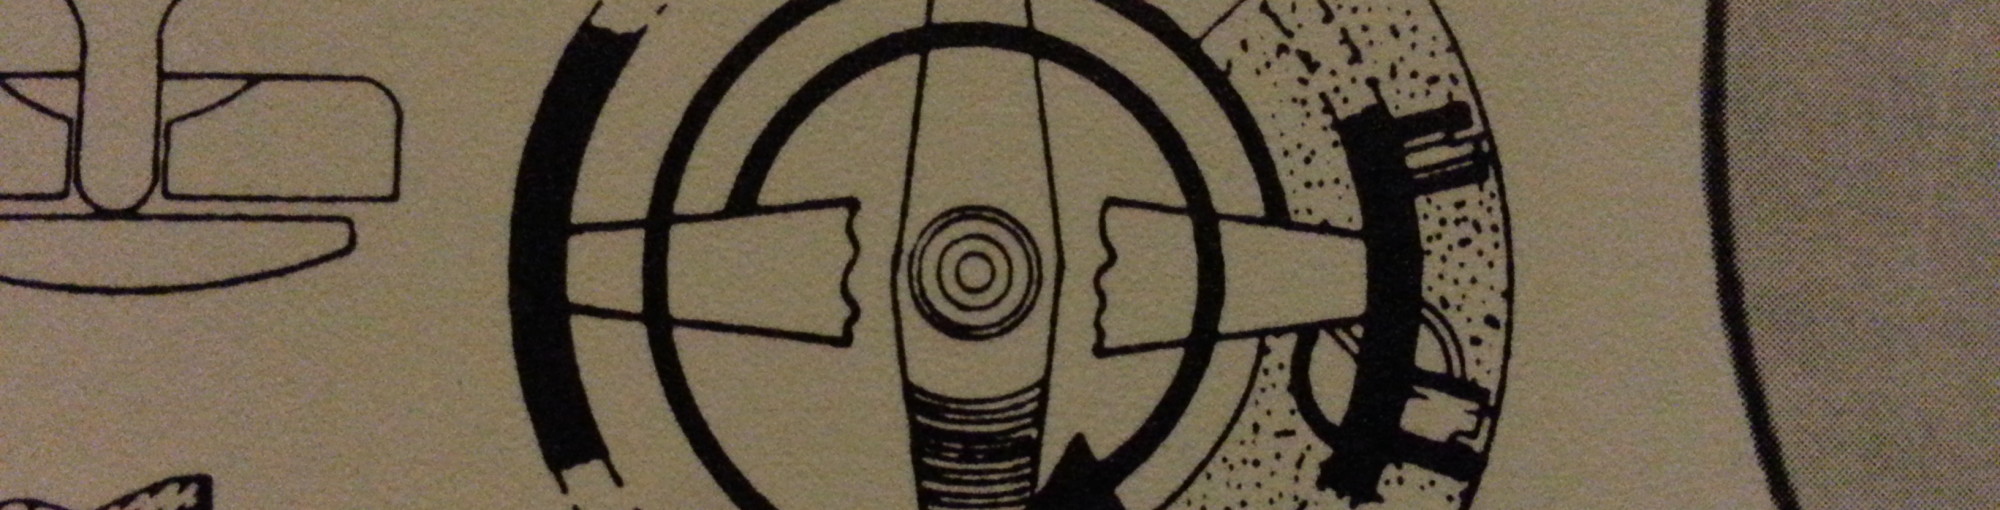
And third, insert the K&D removal punch and lightly tap out the staff. You can view your progress from this handy viewing port.

With a small staking hammer, tap gently on the stake. Lightly does it. A common mistake is to start whapping on the thing. It’s much better to tap lightly and then increase the force if needed than to deform the balance wheel with one big whack. I rotate the stake a quarter turn after each tap to ensure even force. Repeated light taps will start to break off the lip of the rivet, and after a few more taps the old staff will fall out.
And here we have it, a nice, clean hole.

The hole remains perfectly circular, and the edges are smooth.

To summarize, here are some keys to using the K&D tool successfully:
- select the hole in the staking plate that provides a secure fit to eliminate sliding and wobbling
- secure the balance wheel to the staking tool tightly. Sliding and wiggling will deform the hole in the balance wheel
- tap lightly, rotating the stake, and only tap more forcefully if needed
- aim for many lighter taps than fewer forceful ones
Staking and Riveting the New Staff to the Balance Wheel
Now that you have a clean wheel, it’s time to insert the new balance staff. Ideally, you have already measured the staff to ensure that it fits the balance hole jewels and has the proper endshake, as we described in Part 1.
You will need two stakes to secure the new staff to the wheel: a flat faced stake and a rounded, domed stake.

Your staking set should have a lot of these.

Selecting the proper size is crucial. You need a precise, tight fit. The stake should fit over the hairspring shoulder of the staff without binding but should nevertheless be a close fit. If a punch feels a bit too tight, the next larger size is probably perfect.
Here’s the basic idea presented in two pictures. On the left, we see the first step. The rounded punch bites into the the balance wheel shoulder and causes it to spread outward. This outward pressure secures the staff to the wheel. On the right, we see the second step. The flat punch smooths the rivet and flattens it against the wheel. By flattening the rivet, the flat punch creates a thin lip of metal over the balance arms, and it creates a smooth, flat surface for the hairspring collet.

To get it done, start by placing the new staff in a hole in the staking plate so that it is supported by the staff’s hub. Again, you need a close fit. If the hole is too big, the staff will wobble and slide during the staking process. Again, the hole can’t be too small, but it should be just big enough for the staff to rest on its hub.

You start with the rounded punch. For clarity, here’s what it looks like without the balance wheel.

Place the wheel on the balance staff, and then lightly tap with the hammer. Turn the stake a quarter turn after each tap to ensure an even spreading of the rivet. Tap with consistent force.

As with staff removal, staff staking is better done with many lighter taps than a few whomping ones. It will take a while. This one took perhaps 20 to 30.
To test if the rivet has secured the wheel, press firmly against the tip of the domed stake with your finger. Then see if the wheel will move with your tweezers. Remember that the domed stake touches only the balance staff, not the wheel. If the wheel still wiggles, keep on tapping. If the wheel doesn’t move, it means that the shoulder has spread against the wheel snugly.

And here we have it—the rivet has spread against the wheel.

For the next step, you smooth the rivet flat. Replace the domed punch with the flat faced punch. Tap lightly, rotating the punch a quarter turn each time. It doesn’t take much to flatten the rivet.
Your staffing was a success if the balance staff hub is flush and flat to the balance arms. There shouldn’t be a gap between the arm and the hub, and the arms should of course be perpendicular to the staff.

Now that you have a new balance staff in your wheel, it’s time for the final steps: reattaching the roller and hairspring.